ISOLATION BIKING: How to wash your MTB
A clean bike doesn’t just look better, regular washing will help your machine run smoother for longer. But how should you go about it? It may seem a straight forward affair but you’ll find no shortage of opinions on how it’s done. There’s also many ways to stuff it up and do more harm than good, so here’s our take on the 10 minute post-ride spruce-up!
This is the sort of wash that you should do after every dirty ride. If your trails aren’t too dusty or damp, the interval can extend to three or four rides. While you can always spend additional time with more elaborate techniques, we want to keep things realistic—complicate it too much and the job won’t get done.
Don’t procrastinate as the mud is easier to remove when it’s fresh. Hook in while you’re still wearing your riding gear and you’ll be opening that post-ride recovery beverage in no time!

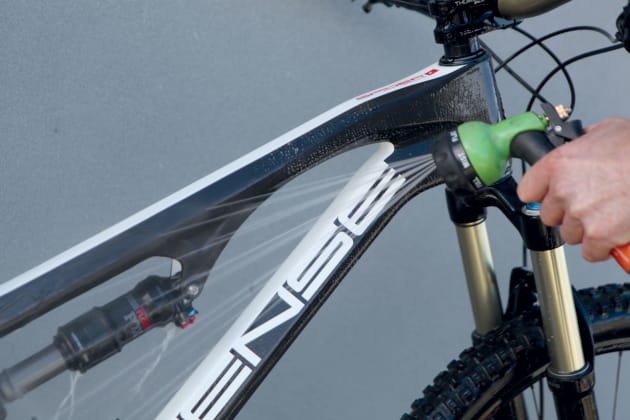
If your bike is properly dirty with a good coating of mud, start by hosing the bike off. Select a gentle shower on your hose nozzle—don’t use a jet nozzle or pressure washer as this can drive water past your bearing and suspension seals. Go right over the frame and components, focusing on any areas with caked on mud.

While this step is not 100% essential, it’s something we’d generally recommend. Disc brake pads are particularly vulnerable to contamination and oil is the prime culprit. Some bike wash products and polish can leave an oily residue. To play it safe, slip a small plastic bag over each calliper and secure it with an elastic band.


Spray the biodegradable bike wash all over the bike and leave it on for a minute. Get your soft bristle brush (or sponge wet), give it a light spray with the cleaner and scrub the bike down. Get it nice and sudsy and rinse the brush regularly to ensure you’re not scratching the finish with dirty gritty bristles. Pay extra attention to the dirtiest spots like under the down tube and behind the seat tube.
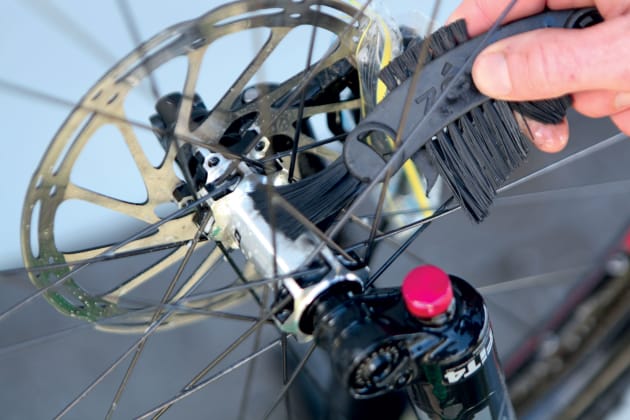
It's good to have a collection of different sized brushes—smaller ones will help with getting into tight spots like between the spokes and hub shells.
Rinse the bike with the same light shower that you used initially—it’s best to do this before the suds dry. Again, avoid using a focused high pressure spray. If you’re utilising a car wash or only have a pressure washer, stand well back from the bike so it only gets a light spray. Alternately, just rinse the bike off with a bucket of water.

Assuming your bike wash has a light degreasing action, give the chain, cassette and chainring one extra spray. The Juice Less Gnarl cleaner that we used is actually a diluted version of their citrus degreaser, so it’s quite effective at loosening drivetrain grime.
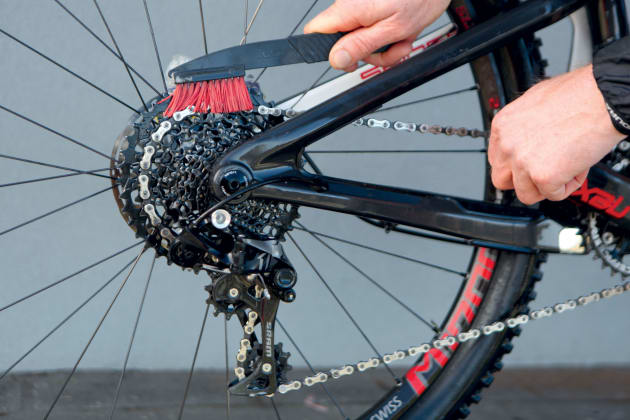

Roll the pedals backwards whilst holding the brush in place to scrub the chain, cassette and
chainring. Don’t forget the jockey wheels as they’re prone to getting gunked up. While it is possible to use a chain cleaning tool, we prefer to do a lighter clean like this on a regular basis. Doing the full strip with a concentrated degreaser can make it harder to effectively re-lube your chain—only go the heavy duty clean when it’s really needed.
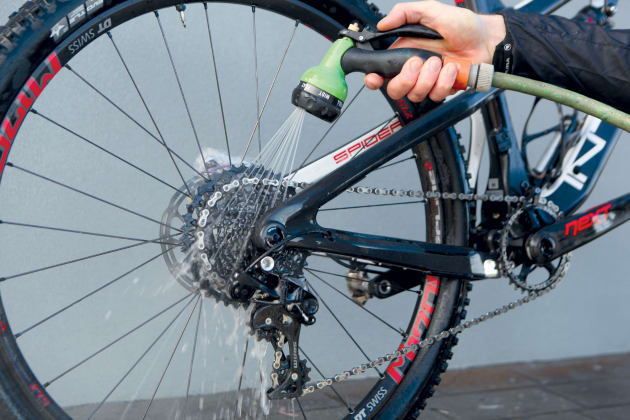
Rinse the drivetrain off with the hose or a bucket of water. Point the spray straight down—don’t direct it towards the left side of the bike or the loosened up oil and grime may wind up splattered all over your disc rotor.
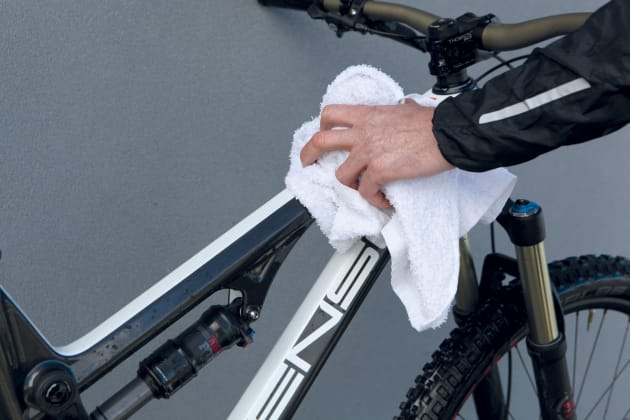
Give the bike a quick bounce to shake off any excess water, then dry the whole bike with a towel, cloth nappy, chamois or some other soft highly absorbent rag. If you have access to a compressor, you can blow-dry the drivetrain with an air gun (again watch that you don’t blow any residual grunge onto the brake rotor).
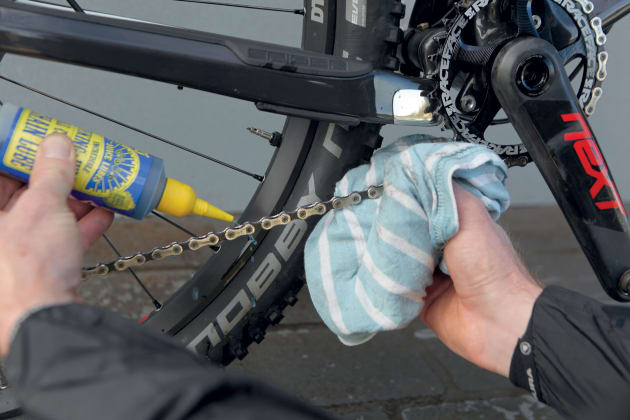
Slowly spin the drivetrain backwards and drip your lube on the chain rollers. Once a light coat of lube has been applied, run the chain through a rag and check to see how clean it is. If the rag shows a lot of grime, apply a little extra lube and give it another thorough wipe. Repeat the lube and wipe process a few times and the chain should be looking clean. Unless you’re running a dry lube, it’s best to wipe any excess lube off the outside of the drivetrain as it’s only going to attract dirt.
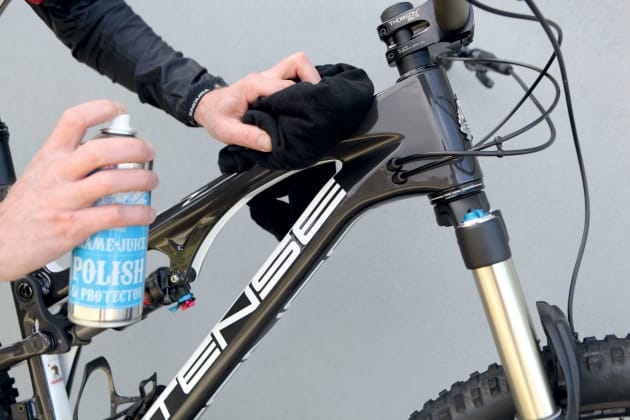
Not an essential step but you could always use a soft rag and some bike polish to give your bike a nice finish. Aside from looking schmick, it can also make your next bike wash easier as dirt will be less likely to stick to the protective outer layer that a polish will leave. Don’t get any on your rotors as it leaves an oily residue.

Despite running bags on the brake callipers and doing your best not to get oil on the rotors, it’s best to hit the discs with some brake cleaner. Remove the plastic bags and spray the rotors. Run the discs through an absorbent rag and repeat a couple of times until the cloth comes out clean after wiping the rotor. Now you’re good to go!
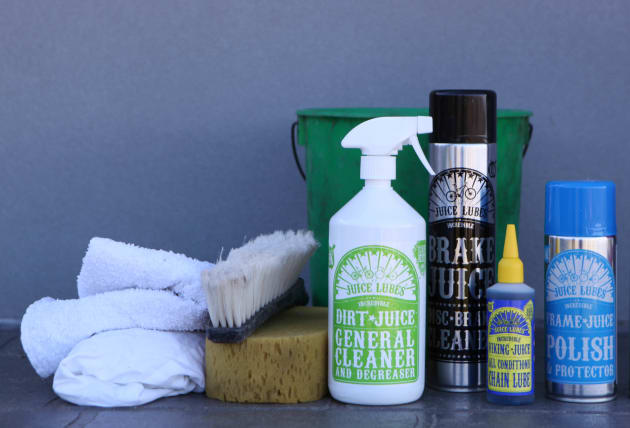
• Bike wash - Opt for a bio-degradable one with a light degreasing action.
• Hose with an adjustable nozzle and/or a bucket.
• Soft brush or sponge - Either will work. We prefer a brush as it clears the dirt away with less chance of scratching.
• A selection of clean rags including an old towel or cloth nappy.
• Stiff bristle brushes - Having a selection of different sizes will help.
• Two small plastic bags and elastic bands.
• Chain lube.
• Disc brake cleaner.
• Bike polish (optional).
• Bike work stand (optional).