


Wheel Lifts
The ability to get your wheels off the ground is a handy skill to have, and we’re not talking about launching big air here. Simply lofting the front or rear wheel can help you to clear an obstacle or safely tackle a drop.
It’s also something that many people struggle with; the most common approach is to push down on the handlebars, compress the forks and then try to pull the front up. While will certainly work, it’s far from efficient and there are better ways to approach it.
To lift the wheels efficiently, you need to get leverage off your body weight. Even if you’re a 50kg flyweight, you are still much heavier than your bike—use this to your advantage. If you get your body weight moving in the right direction, the bike is sure to follow.
There are a number of different ways to lift the wheels but here we’ll focus on the simplest and arguably the most useful way to start.
Front Wheel
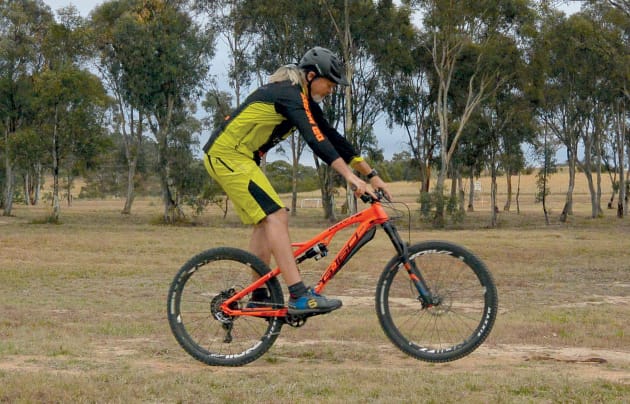
Let’s start with the front. The technique we are going to use allows you stay in a forward ready position on the bike. It helps you to remain balanced and is easier to control—especially at beginner to intermediate level.
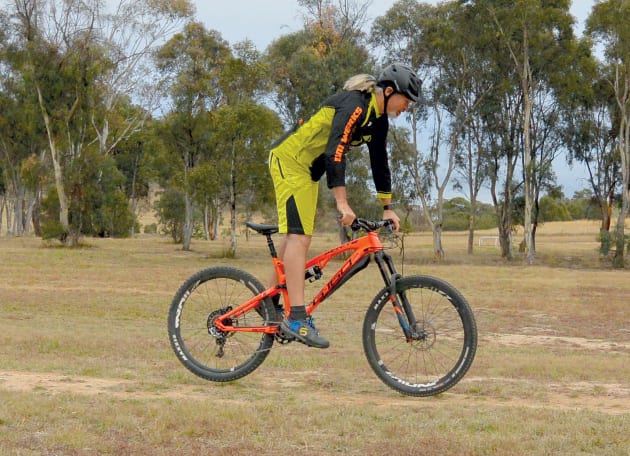
First up it’s worth having a quick practice without the bike. Put down the magazine, assume a riding position and jump in the air. Now that was easy to do and you’ll notice that you didn’t try to pull yourself up with your arms; primarily because it doesn’t work. Instead you compressed down and exploded upwards with your legs.
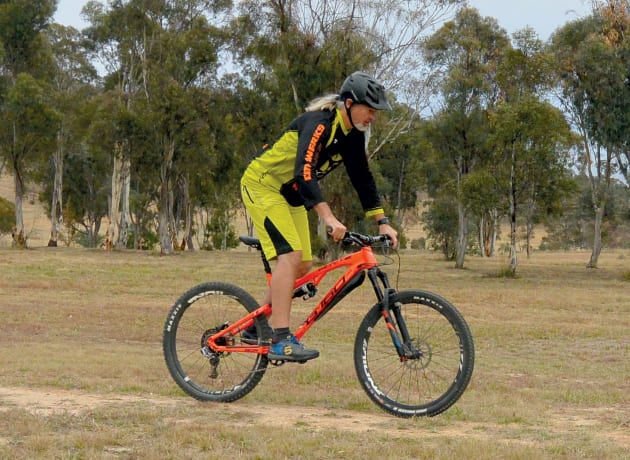
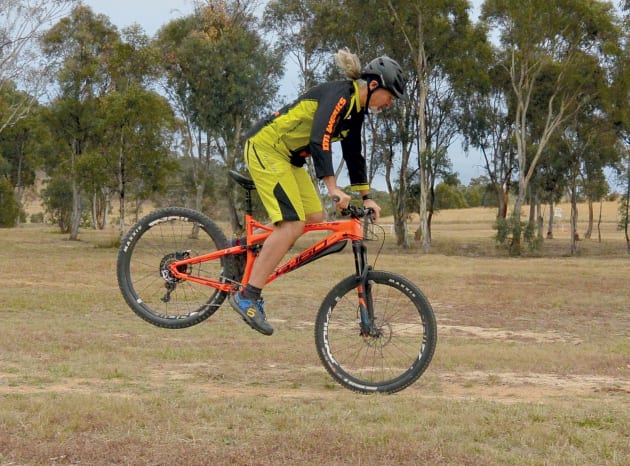
Now let’s take this onto the bike. Assume the normal riding ready position – standing with elbows sticking out and weight centred over the bike – then compress down and explode up with your legs. As you are heavier than the bike, the bike will naturally follow and the front wheel will lift. The higher you want it to lift the higher you need to jump.
Now some of you are going to be lifting both wheels at this point, especially if you are riding clipped in. To solve this, when you jump up move your weight towards the rear of the bike. The aim here is to develop control so that you can decide which wheel you lift and how high. If you find yourself turning the bars or getting off balance, check that you are not pulling up on the bars. Find an open level area and practise lifting the front wheel using this technique until you can do it consistently.
Next up you need to add some timing. Use a small stick as an obstacle and practise at a range of different speeds until you are consistently able to clear it with your front wheel. Take this technique to the trail and you’ll find a range of situations where it will help. To really take it to the next level and be super smooth, you’ll want to lift the back wheel as well.


Rear Wheel
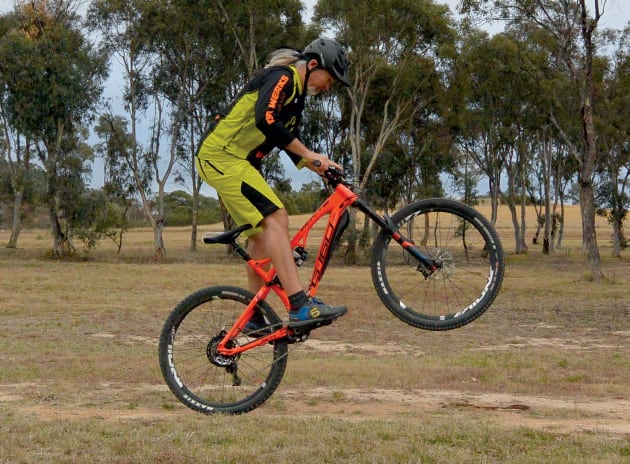
First up let’s talk safety. Don’t cover your front brake for this one as you don’t want to accidently apply it whilst attempting a rear wheel lift. The technique is the same as the on the front, except you need to move your weight slightly forward when exploding upwards.
If you are clipped into the pedals, you will find this easy. If you are riding with flat pedals you will need to scoop your feet. By this I mean point your toes down towards the ground and then scoop your feet back and up; this will stop you from jumping straight off the pedals—think of it as scraping dog poo off your shoe!
As with the front lift, cruise around and practise until you can do a rear lift consistently then add a stick on the ground for timing. As the front wheel rolls over the stick, compress and lift the back over it. The rear lift doesn’t need to be high and is typically a low speed technique.
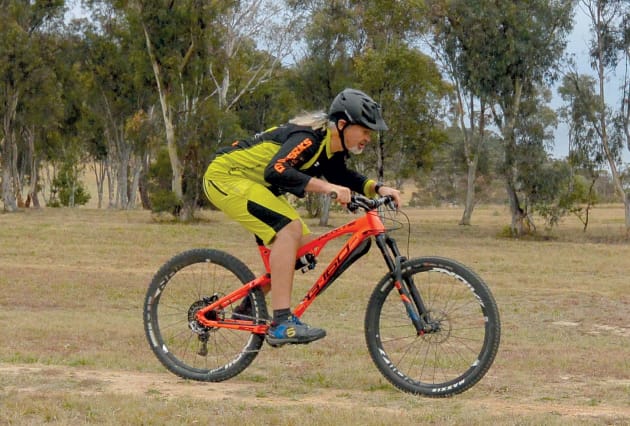
Front then Rear
When you have both techniques dialled put them together; front then rear in succession. Once again test your timing with a trusty stick. At first it can be tricky to get it right as you need to be smooth and fluid. Once your timing is consistent, it’s time to take it to the trails and practise on natural obstacles. Start with small rocks or step-ups and gradually move to bigger obstacles as your timing and technique improves.
Right throughout the learning process, focus on maintaining good technique—it’s far more important than lifting the wheel sky high or tackling a high-commitment obstacle. Don’t fall back into old habits and start yanking up on the bars with your arms—remember to let your bodyweight do the work and concentrate on moving your whole torso around rather than remaining static on the bike. Have fun and try to remain smooth and relaxed. As you improve, the front and rear wheel life will eventually merge into one smooth action to become what’s known as a mono-hop—another handy skill that will allow you to graduate onto harder obstacles and rougher trails.
Mic Longhurst is a professional skills instructor, coach and the founder of Dynamic Motivation in the ACT. He’s a UCI level two coach, an MTBA level one coach and the only PMBI certified instructor trainer in the Asia Pacific region. With all this he’s well qualified to teach riders of all levels. Through Dynamic Motivation, Mic also sponsors a number of up and coming junior riders and holds regular skills camps. For details go to www.dynamicmotivation.com.au and for daily tips join the We Ride Mountain Bikes Facebook group: www.facebook.com/groups/weridemountainbikes


